
Homemade Hair Butter Recipes for Soft, Moisturized Natural Hair
Disclosure: Some of the links in this post are affiliate links. This means if you click on the link and purchase an item, I will receive an affiliate commission at no extra cost to you.
Hair butter has a special place in natural hair care, especially for people with thick, coily textures that tend to lose moisture quickly. Unlike lightweight leave-in products, hair butters are rich, creamy, and designed to help soften the hair while providing a layer of protection that can reduce moisture loss.
Making your own hair butter at home can also be a simple way to customize your routine. You can choose the ingredients based on how your hair feels, whether you prefer a lighter or richer texture, and which oils your strands tolerate best.
The key, however, is understanding what hair butter actually does. Hair butter does not replace water or a water-based moisturizer. Instead, it is generally used after moisturizing to help seal in moisture and improve softness. This makes it particularly useful for dry natural hair and tightly coiled textures.
The best homemade hair butter recipes do not need a long list of ingredients. A simple combination of shea butter and a suitable oil can be enough. You can also experiment with mango butter, cocoa butter, aloe vera, coconut oil, jojoba oil, or other ingredients depending on the consistency you want.
In this guide, we’ll go through several easy homemade hair butter recipes, explain how to prepare and use them, discuss which ingredients work best for different hair needs, and cover mistakes that can leave your hair greasy, heavy, or coated.
What Is Hair Butter?
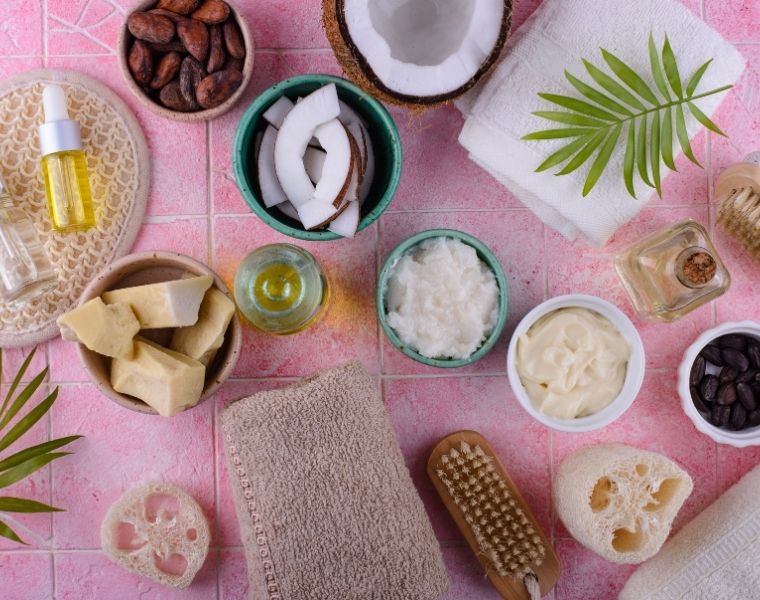
Hair butter is a rich hair care product usually made by combining a solid plant butter with one or more oils.
Shea butter is probably the most familiar example, but other plant butters such as mango butter and cocoa butter can also be used.
The finished product can range from thick and firm to light and whipped, depending on the ingredients and preparation method.
Hair butter is particularly popular among people with natural hair because it can help make dry strands feel softer and more pliable.
It is also useful for styling. A small amount can be applied to the ends, used when creating twists or braids, or worked through the hair after applying a water-based moisturizer.
If you’re already following a moisture routine for dry natural hair, homemade hair butter can be used as the final step rather than replacing your moisturizing product.
This distinction matters because oils and butters primarily help seal and condition the feel of the hair; they do not provide the same type of hydration as water-based products.
Why Use Hair Butter on Natural Hair?
Natural hair can benefit from products that improve softness and reduce the feeling of dryness between wash days.
Hair butter can be particularly useful for the ends, which are the oldest and most fragile parts of the hair.
A small amount can also make the strands feel smoother and easier to manipulate during styling.
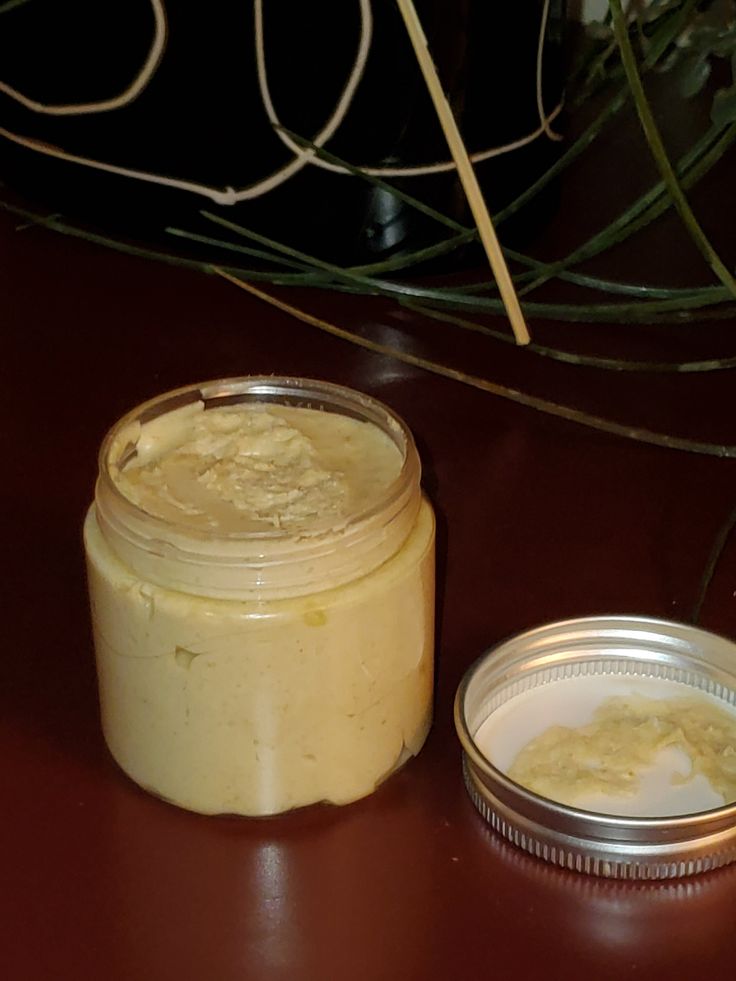
For 4C hair, the richness of butter can be appealing because tightly coiled strands can sometimes feel dry even when they have recently been moisturized.
However, your hair does not necessarily need butter every day.
Using too much can leave the strands greasy or coated, making them difficult to style and potentially contributing to buildup.
A good 4C hair moisture routine should balance hydration with lightweight or richer products according to what your hair actually needs.
Think of hair butter as one tool in your routine rather than the entire routine.
Basic Shea Butter Hair Butter
If you have never made hair butter before, start with the simplest recipe.
Shea butter provides a rich base, while a lightweight oil can make the finished product easier to spread.
Ingredients
- ½ cup raw or unrefined shea butter
- 2 tablespoons jojoba oil
- 1 tablespoon coconut oil
How to Make It
Place the shea butter in a clean mixing bowl.
Allow it to soften naturally at room temperature, or gently melt it using a double-boiler method.
Do not expose the butter directly to high heat.
Once softened, add the jojoba and coconut oils.
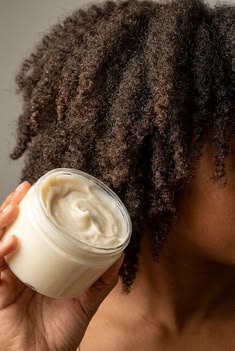
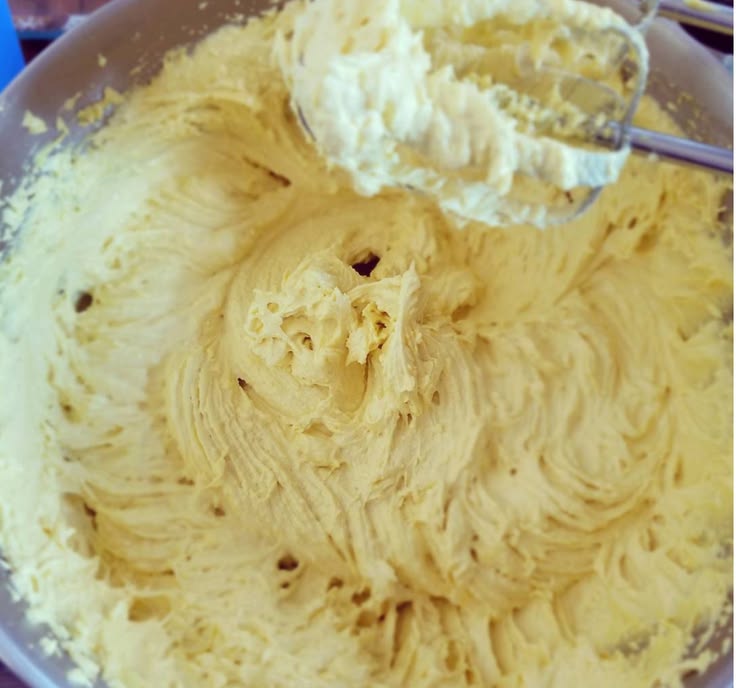
Whip the mixture with a hand mixer until it becomes light and fluffy.
Transfer it into a clean, completely dry container.
How to Use It
Take a small amount between your fingers and rub it between your palms until it melts.
Apply it mainly to the lengths and ends of damp or moisturized hair.
This basic formula is particularly useful if you want something simple for sealing moisture in 4C hair.
Whipped Shea and Mango Butter
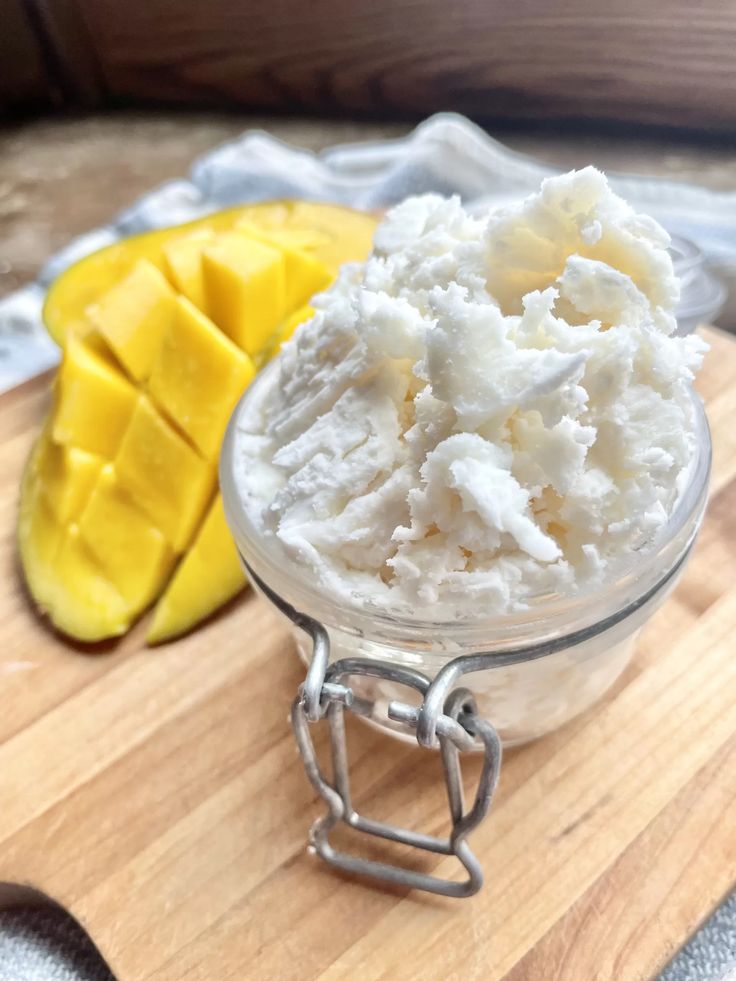
Mango butter is generally lighter in texture than cocoa butter and can give homemade hair butter a smooth consistency.
Combining it with shea butter creates a rich but spreadable mixture.
Ingredients
- ¼ cup shea butter
- ¼ cup mango butter
- 2 tablespoons jojoba oil
- 1 tablespoon argan oil
Preparation
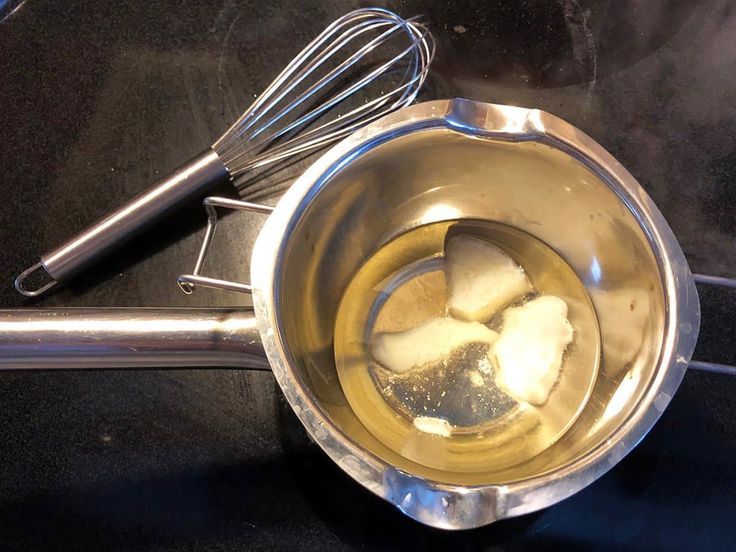
Gently melt the shea and mango butters using a double boiler.
Once melted, remove them from the heat.
Allow the mixture to cool slightly before adding the oils.
Place the bowl in the refrigerator for a short period until the mixture begins to solidify around the edges.
Remove it and whip until fluffy.
Store it in a clean, dry container.
Best For
This recipe works well if you want a rich butter without making the formula entirely dependent on heavy oils.
Apply a small amount after moisturizing, particularly to the ends.
If your hair becomes weighed down easily, use less rather than adding more.
Coconut Oil and Shea Butter Hair Butter
Coconut oil and shea butter are two familiar ingredients in natural hair care, and combining them creates a rich butter that works well for dry-feeling strands.
Ingredients
- ½ cup shea butter
- 2 tablespoons coconut oil
- 1 tablespoon olive oil
Preparation
Soften or gently melt the shea butter.
Add the coconut and olive oils.
Allow the mixture to cool until it begins to thicken.
Whip it until creamy.
If the final product feels too greasy on your hair, reduce the amount you apply rather than immediately changing the entire recipe.
How to Use It
Apply a small amount to damp hair after your leave-in conditioner or water-based moisturizer.
Pay particular attention to your ends.
You can also use a tiny amount before creating twists or braids to improve the feel of the strands.
This can fit easily into a simple wash day routine for 4C hair, especially when your hair tends to feel dry shortly after washing.
Cocoa Butter and Jojoba Hair Butter
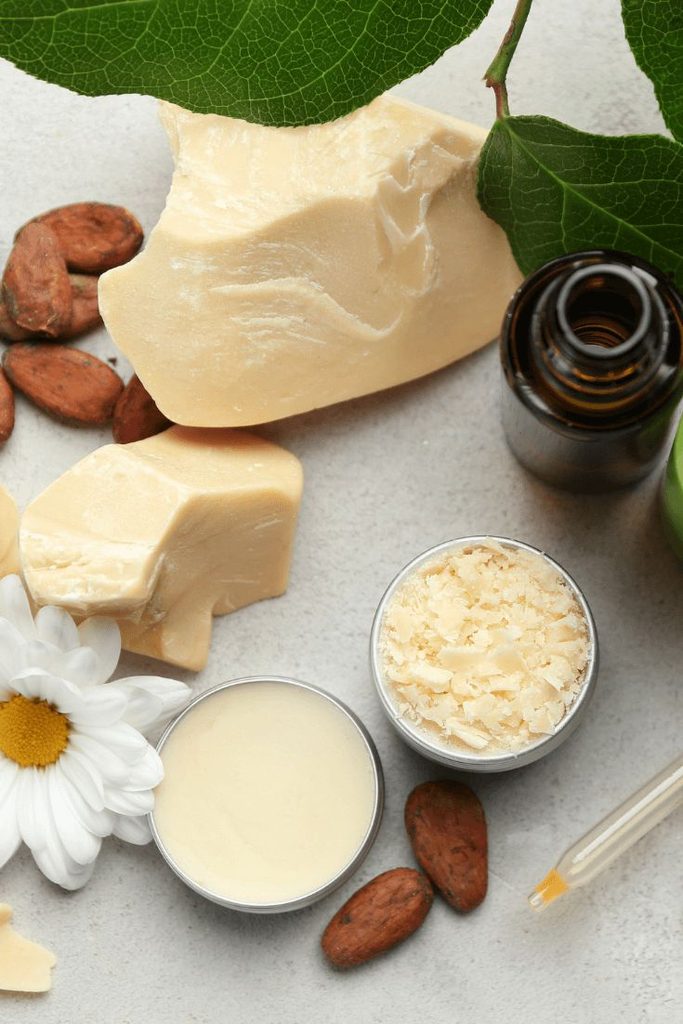
Cocoa butter has a naturally firm texture and gives homemade hair butter more structure.
Jojoba oil helps soften the formula and makes it easier to spread.
Ingredients
- ¼ cup cocoa butter
- ¼ cup shea butter
- 2 tablespoons jojoba oil
Preparation
Melt the cocoa and shea butters gently.
Remove from heat and stir in the jojoba oil.
Allow the mixture to cool until it begins to firm up.
Whip until smooth.
How to Use It
Because cocoa butter can be quite rich, begin with a very small amount.
Work it between your palms before applying it.
This recipe may be particularly useful for sealing the ends of dry hair, but people with fine hair may find it too heavy for frequent use.
If your hair feels coated afterward, consider switching to a lighter formula.
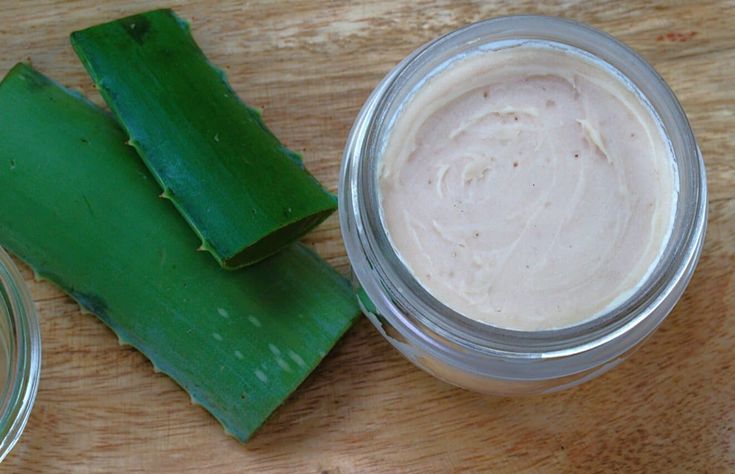
Aloe Vera and Shea Hair Butter
Aloe vera can make a hair butter feel lighter and more moisturizing, but there is an important consideration: fresh aloe vera contains water.
Water changes the preservation requirements of a homemade product.
For this reason, adding fresh aloe vera directly to a batch of butter that you plan to store for weeks is not advisable unless you have an appropriate preservation system and understand how to formulate safely.
A safer approach for a simple homemade recipe is to prepare a small amount for immediate use.
Ingredients
- 2 tablespoons shea butter
- 1 tablespoon jojoba oil
- A small amount of pure aloe vera gel
How to Use It
Rather than storing the mixture, soften the shea butter in your palm and mix a tiny amount of aloe vera gel with it immediately before application.
Apply it to damp hair.
This approach lets you enjoy the combination without creating a large water-containing batch that may spoil.
If you’re interested in aloe-based treatments, DIY deep conditioner recipes can also provide options for incorporating aloe vera into wash day.
Avocado Oil and Shea Butter Hair Butter
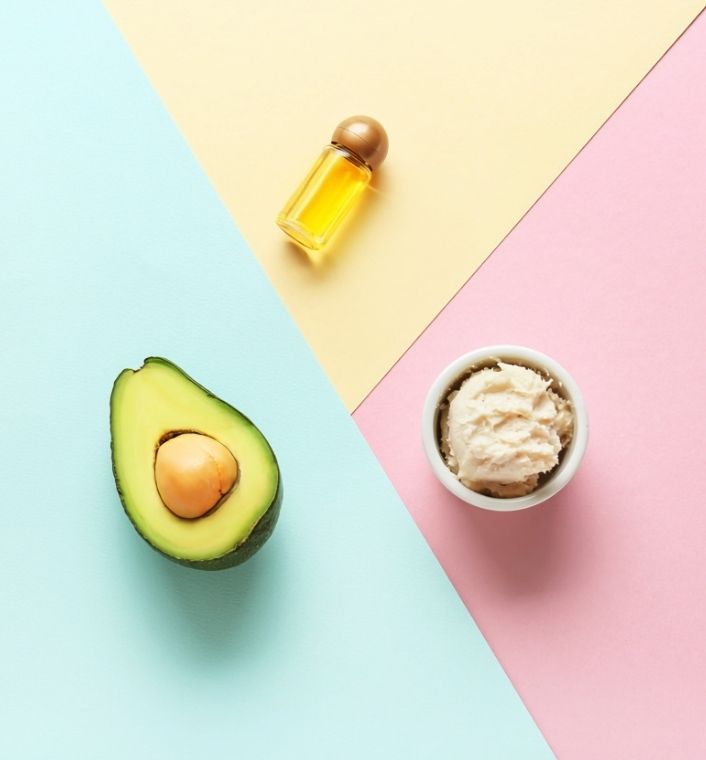
Avocado oil is a rich oil that can complement shea butter in a homemade hair treatment.
It works well when you want a richer formula for dry-feeling strands.
Ingredients
- ½ cup shea butter
- 2 tablespoons avocado oil
- 1 tablespoon jojoba oil
Preparation
Soften the shea butter.
Add the oils and whip until the mixture becomes light and creamy.
If you want a firmer butter, use slightly less oil.
If you want a softer consistency, increase the oil slightly.
How to Use It
Apply a small amount to moisturized hair, focusing on the ends.
This recipe may work particularly well during colder or drier periods when your hair feels like it loses moisture more quickly.
During dry weather, combining harmattan hair protection with sensible moisturizing and sealing can help you maintain a more consistent routine.
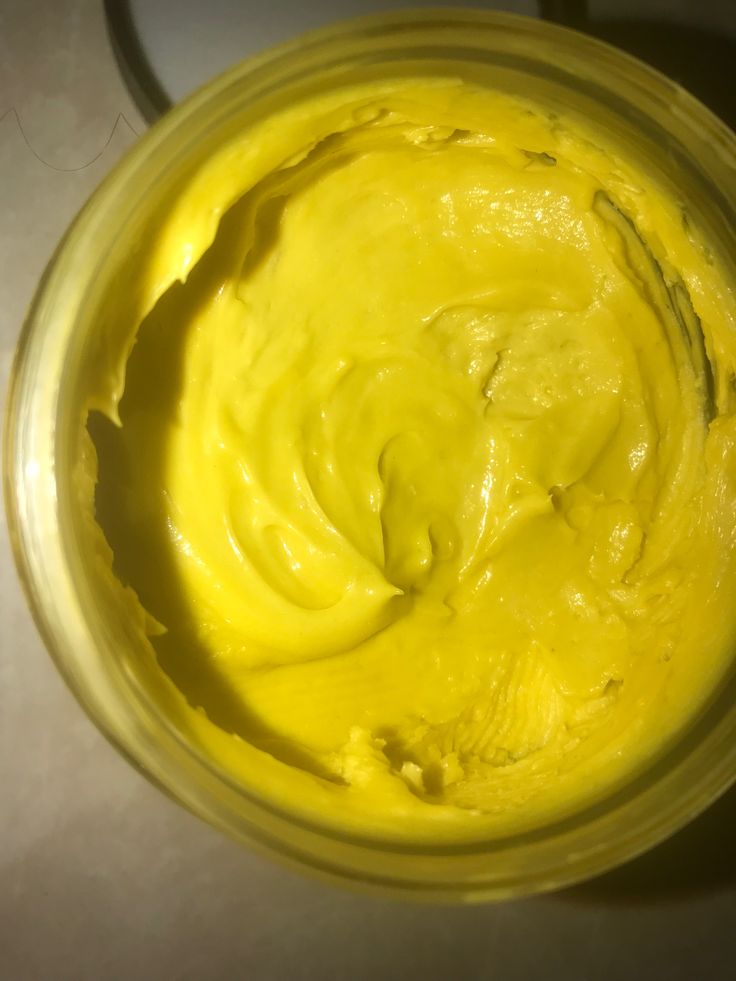
Lightweight Mango Butter Hair Cream
Not everyone enjoys thick hair butter.
If your hair is fine, easily weighed down, or prone to buildup, mango butter can provide a lighter alternative to very heavy formulations.
Ingredients
- ½ cup mango butter
- 2 tablespoons jojoba oil
- 1 tablespoon grapeseed oil
Preparation
Melt the mango butter gently.
Add the oils and allow the mixture to cool.
Whip until smooth and fluffy.
How to Use It
Use a pea-sized amount on each section of moisturized hair.
Because grapeseed and jojoba oils are relatively lightweight, this formula can feel less heavy than a butter made primarily with cocoa or shea butter.
Still, your individual hair response matters.
If you already struggle with product buildup on natural hair, keep your application light and avoid layering multiple heavy products.
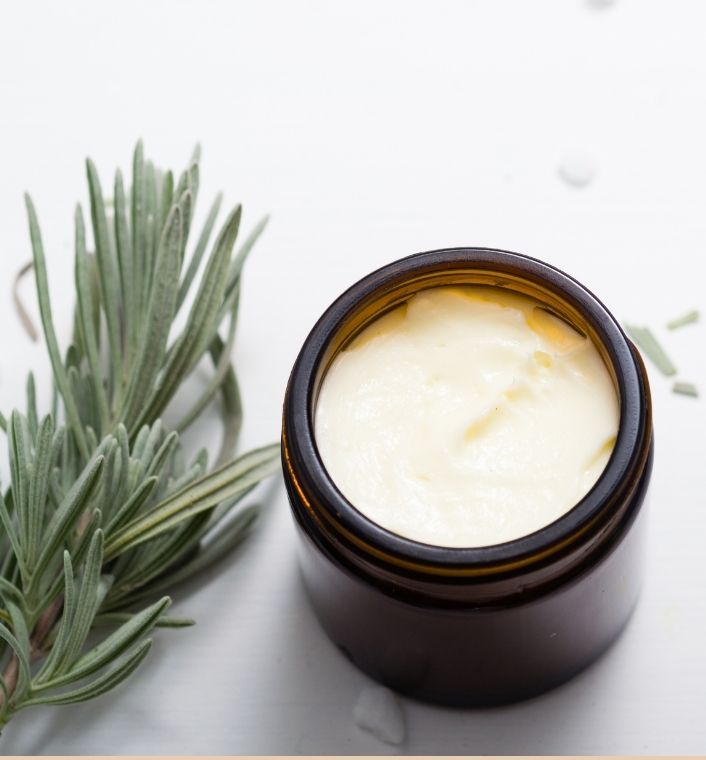
Rosemary-Infused Shea Hair Butter
If you enjoy herbal ingredients, you can create a simple rosemary-infused oil and incorporate a small amount into your hair butter.
The important distinction is between infused carrier oil and concentrated rosemary essential oil.
A homemade infusion uses a carrier oil that has been infused with rosemary. Essential oil is much more concentrated and requires appropriate dilution.
Ingredients
- ½ cup shea butter
- 2 tablespoons rosemary-infused jojoba or olive oil
Preparation
Whip the shea butter and slowly add the infused oil.
Continue whipping until the texture is light and smooth.
How to Use It
Apply a small amount to the hair rather than heavily coating the scalp.
If you want to experiment with herbal oils, how to make rosemary oil for natural hair can help you understand the difference between an infused oil and an essential-oil preparation.
Always stop using a product if it causes irritation.
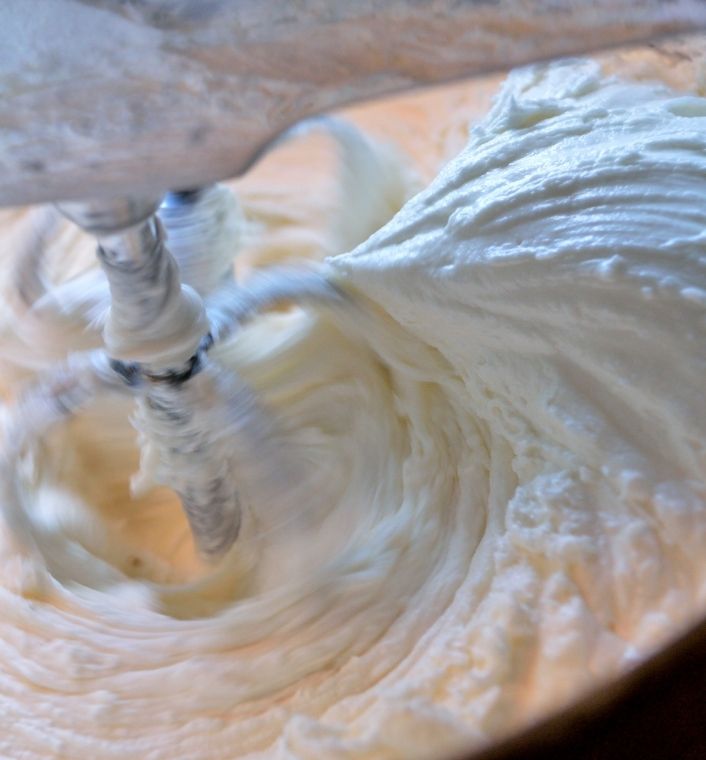
How to Make Your Hair Butter Fluffy
Whipping is what gives homemade hair butter its light, creamy texture.
Start with softened butter rather than completely melted butter whenever possible.
If you melt the butter completely, allow it to cool and begin solidifying before whipping.
Use a hand mixer and beat the mixture for several minutes.
The more air you incorporate, the lighter the final texture can become.
You can also place the mixture in the refrigerator briefly before whipping if it remains too liquid.
Do not refrigerate it for too long, however, because it can become extremely hard.
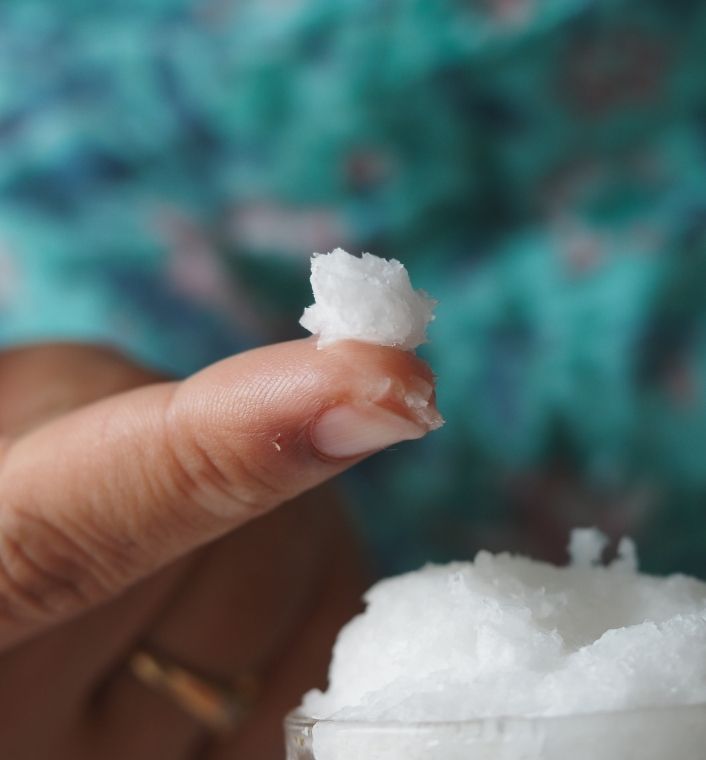
A properly whipped butter should be easy to scoop with your fingers while still maintaining its shape.
If your first batch is too hard or too soft, adjust the butter-to-oil ratio in your next batch.
How to Apply Homemade Hair Butter
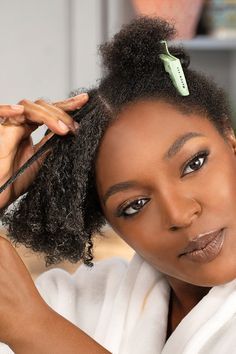
The application method can determine whether your hair butter feels helpful or heavy.
Start with clean, damp, or already moisturized hair.
Separate your hair into manageable sections.
Take a small amount of butter and rub it between your palms until it melts.
Smooth it over the section, concentrating on the lengths and ends.
Avoid automatically applying a large amount to your scalp.
If your goal is to seal moisture into the hair, the strands are where the product is most useful.
For people with tightly coiled hair, working in sections makes it easier to distribute the butter evenly.
You can then proceed with twists, braids, a puff, or another hairstyle.
If you’re working with freshly washed hair, using gentle detangling techniques for 4C hair before applying the butter can help reduce unnecessary manipulation.
How Much Hair Butter Should You Use?
There is no fixed amount that every person should use.
Hair length, density, strand thickness, porosity, and the rest of your routine all influence how much product your hair needs.
Start with less than you think you need.
You can always add more.
If your hair feels greasy immediately after application, you’ve probably used too much.
If your strands still feel dry, look at the products underneath the butter before simply adding more.
You may need more water-based moisture rather than more oil or butter.
This is particularly important for people who frequently use rich products. Understanding how to moisturize 4C hair without weighing it down can help you create a better balance between hydration and sealing.
How Often Should You Use Hair Butter?
Hair butter does not need to be applied every day.
Some people may use it after wash day and refresh their hair with a small amount later in the week.
Others may use it only when styling.
Your hair’s response should guide your frequency.
If your strands remain soft and manageable, there is no reason to keep adding more product.
If your hair becomes coated, dull, sticky, or difficult to cleanse, reduce your application.
The same principle applies when wearing longer-lasting hairstyles.
Adding large amounts of butter beneath braids, wigs, or extensions can lead to residue accumulating on the hair and scalp.
A simple routine that includes regular cleansing is usually easier to maintain than repeatedly layering products.
Can Hair Butter Make Hair Grow Faster?
This is one of the biggest misconceptions surrounding homemade hair butter.
Hair butter can help improve the feel and manageability of your strands, but applying butter does not automatically make your hair grow faster.
Hair growth occurs from the follicle beneath the scalp.
What hair butter can potentially help with is the condition of the existing hair shaft.
When your hair feels softer and is easier to manipulate, you may be able to reduce unnecessary friction and breakage during styling.
That can help you retain the length you are already growing.
So instead of thinking of hair butter as a growth treatment, think of it as a conditioning and styling product.
If you’re concerned about breakage, your overall routine matters much more. Your 4C hair breakage prevention routine should include gentle detangling, appropriate moisture, careful styling, and reduced tension.
How to Store Homemade Hair Butter
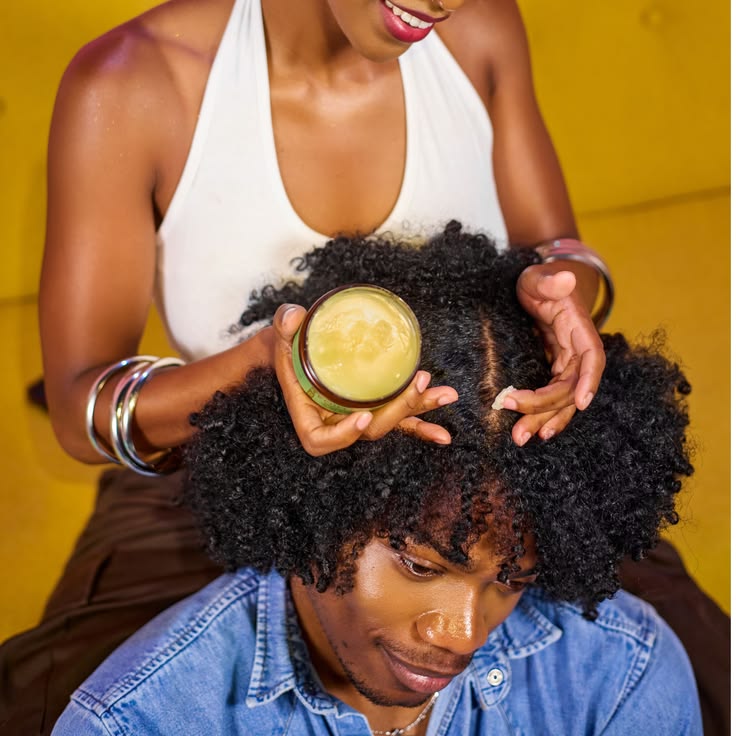
Proper storage is important, particularly because homemade hair products usually do not contain the same preservation systems as commercial products.
Keep your butter in a clean, dry, airtight container.
Avoid introducing water into the jar.
Always use clean, dry hands or a clean cosmetic spatula to scoop out the product.
Store it away from direct sunlight and excessive heat.
If your recipe contains fresh ingredients such as aloe vera, fruit, yogurt, or other water-rich ingredients, it should not be treated like a traditional anhydrous butter that can sit safely for a long time.
Watch for changes in smell, texture, color, or appearance.
If something seems unusual, throw it away.
Making smaller batches is usually the safest and most practical approach.
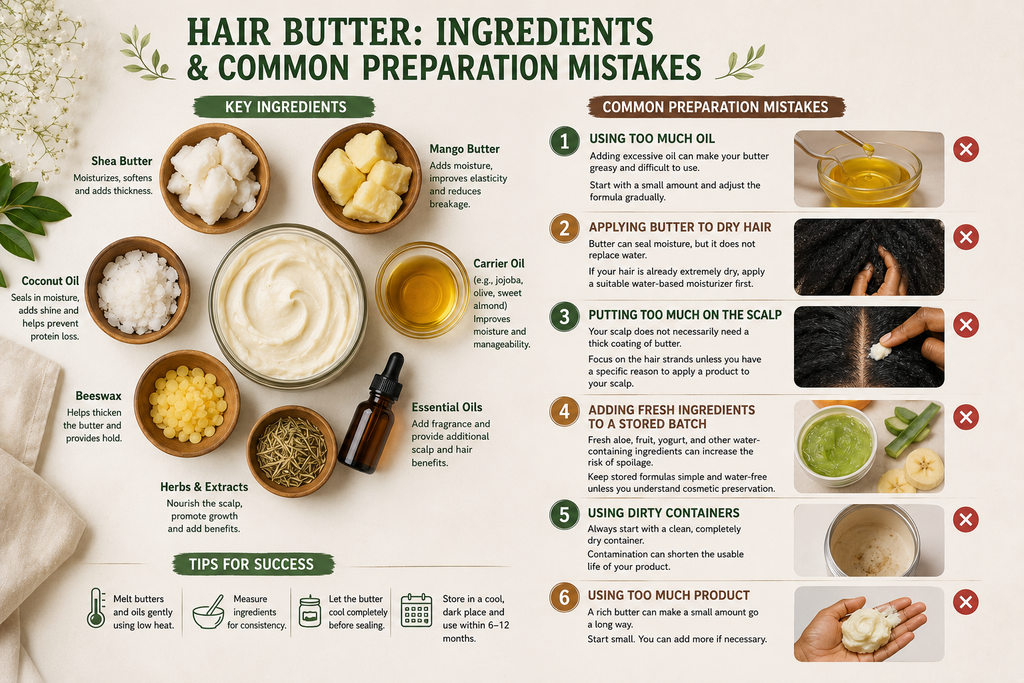
Common Homemade Hair Butter Mistakes
Making hair butter is relatively simple, but a few mistakes can affect the final product.
Using Too Much Oil
Adding excessive oil can make your butter greasy and difficult to use.
Start with a small amount and adjust the formula gradually.
Applying Butter to Dry Hair
Butter can seal moisture, but it does not replace water.
If your hair is already extremely dry, apply a suitable water-based moisturizer first.
Putting Too Much on the Scalp
Your scalp does not necessarily need a thick coating of butter.
Focus on the hair strands unless you have a specific reason to apply a product to your scalp.
Adding Fresh Ingredients to a Stored Batch
Fresh aloe, fruit, yogurt, and other water-containing ingredients can increase the risk of spoilage.
Keep stored formulas simple and water-free unless you understand cosmetic preservation.
Using Dirty Containers
Always start with a clean, completely dry container.
Contamination can shorten the usable life of your product.
Using Too Much Product
A rich butter can make a small amount go a long way.
Start small.
You can add more if necessary.
When Should You Avoid Homemade Hair Butter?
Homemade hair butter is not suitable for every situation.
If your scalp is irritated, burning, severely itchy, or covered in sores, avoid applying a heavy homemade mixture directly to it.
You should also be cautious if you have known allergies to any ingredient.
Patch-testing a new ingredient on a small area of skin can help identify possible irritation before extensive use.
If your scalp is experiencing persistent symptoms, don’t assume that adding more butter will solve the problem.
Understanding the signs your scalp needs extra care can help you recognize when your routine needs to be adjusted or when professional advice may be appropriate.
Similarly, sudden hair loss, bald patches, painful scalp lesions, or persistent inflammation should be evaluated by a qualified healthcare professional rather than treated solely with homemade products.
Final Thoughts
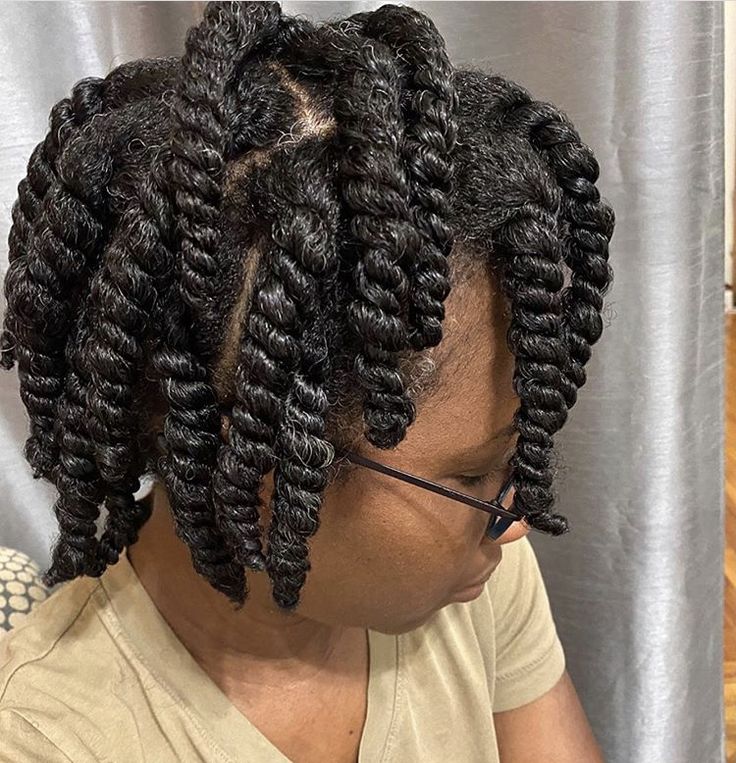
Homemade hair butter can be a simple addition to your natural hair routine, especially when your strands need extra softness, moisture retention, and manageability.
You can create different textures using ingredients such as shea butter, mango butter, cocoa butter, and lightweight oils. Start with a small amount and adjust based on how your hair responds to avoid greasiness or buildup.
For 4C and other tightly coiled textures, homemade hair butter recipes can work well on dry areas and ends when applied sparingly. You also don’t need a complicated formula; a simple whipped shea butter and oil mixture may be enough.
Keep homemade products in clean, dry containers and avoid storing mixtures containing fresh, water-rich ingredients without proper preservation. Used thoughtfully, homemade hair butter recipes can help keep your hair soft and manageable without complicating your routine.